Archive | Fall Projects

Are You Ready For Some Football?

Superbowl Sunday is almost here, and well, since the Patriots aren’t playing this year I’ve made other plans.  Who am I kidding, I’m not a football fan at all.   I AM, however, a fan of decorating!  When my husband told me he was hosting the football draft party for his buddies I decided I needed to spruce the place up.  Now, I didn’t go crazy psycho pinterest and start making all football shaped food, I did the smart thing and ordered from Redbones.

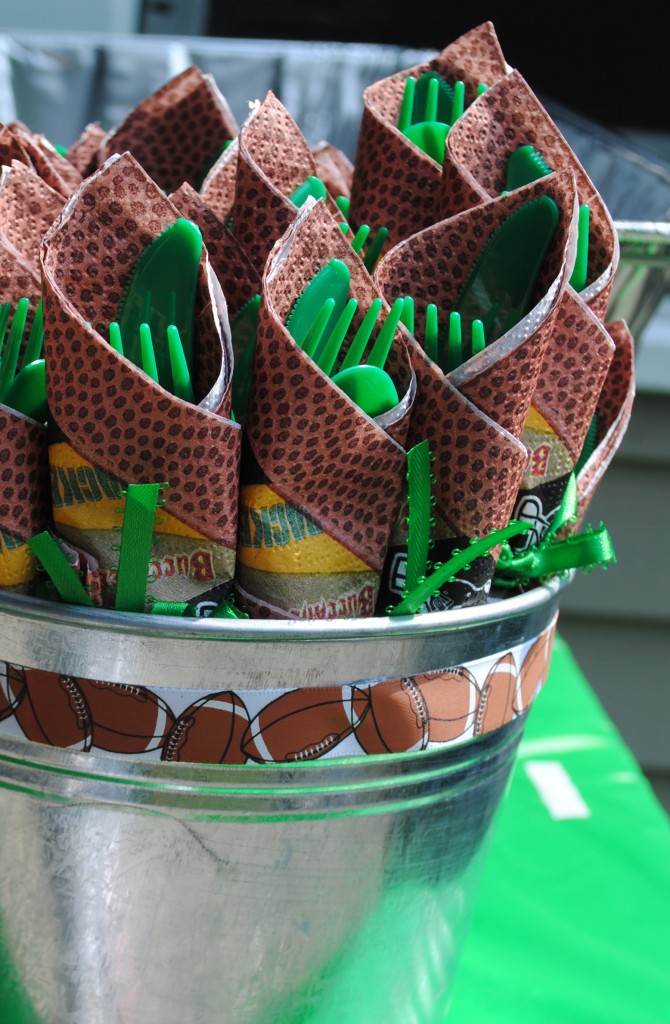
I did, however, make the silverware pretty!  

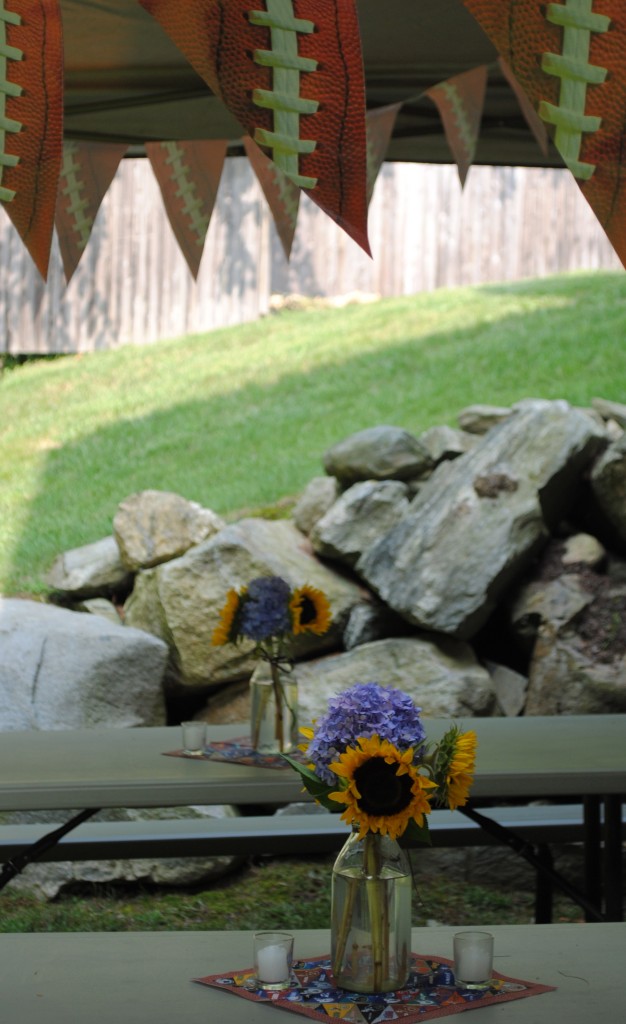
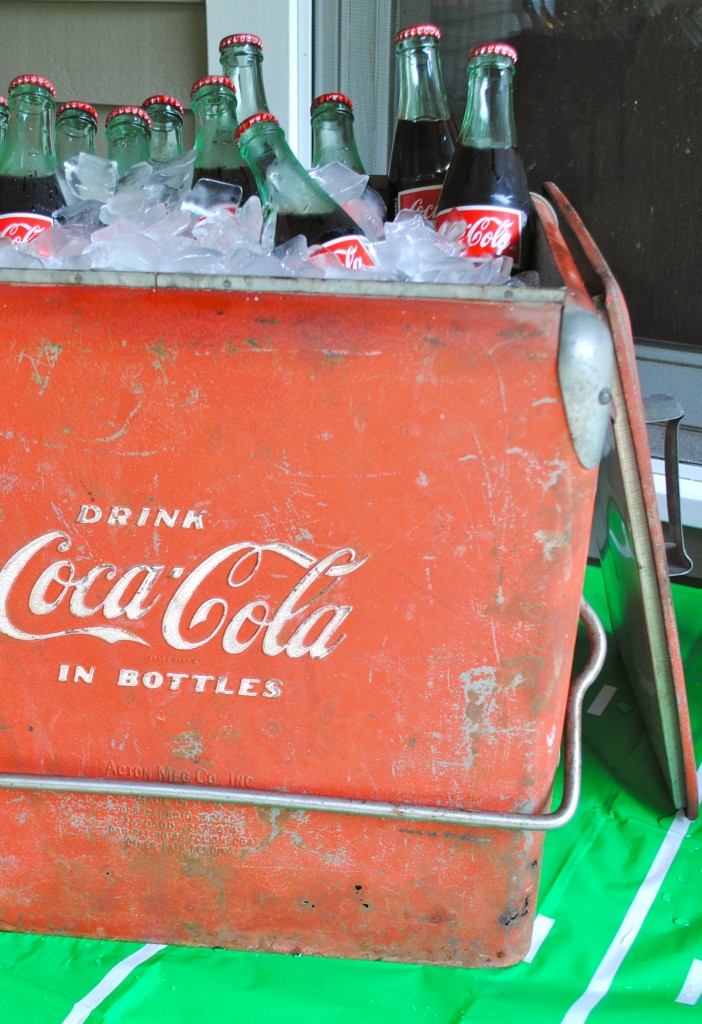
I also made some simple centerpieces for the picnic tables.  A football banner…yes please! And don’t forget the drink table.  Granted, most of the guys were drinking the coolers full of beer, but how refreshing is a bottle of Coke served in a vintage ice chest on a hot summah day?

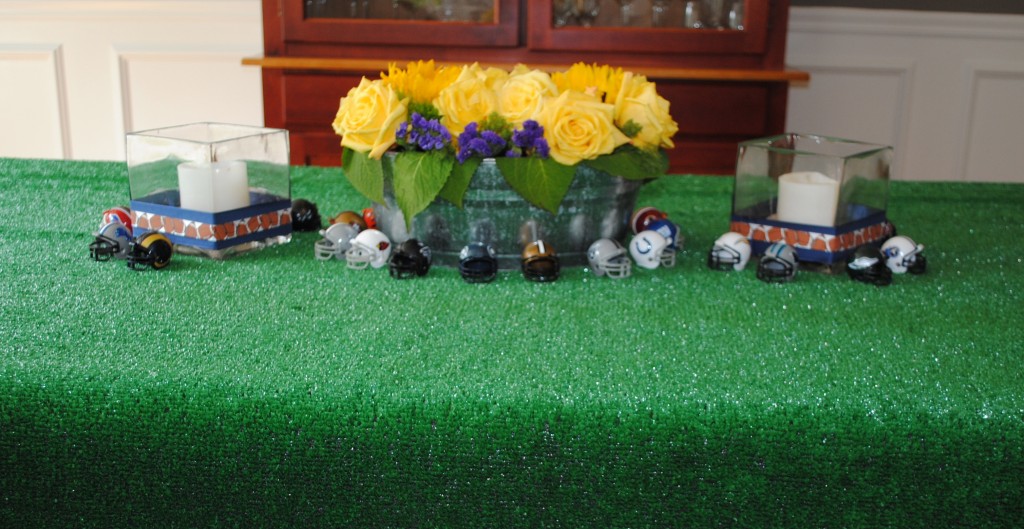
This next tip will send you running to Amazon to make your own Turf Tablecloth!

What better way to cover your table for the big game?  Best of all, you can fold it up and use it again and again.  (ps:  Am I the only one who thinks about the Brady Bunch any time I see artificial grass?)

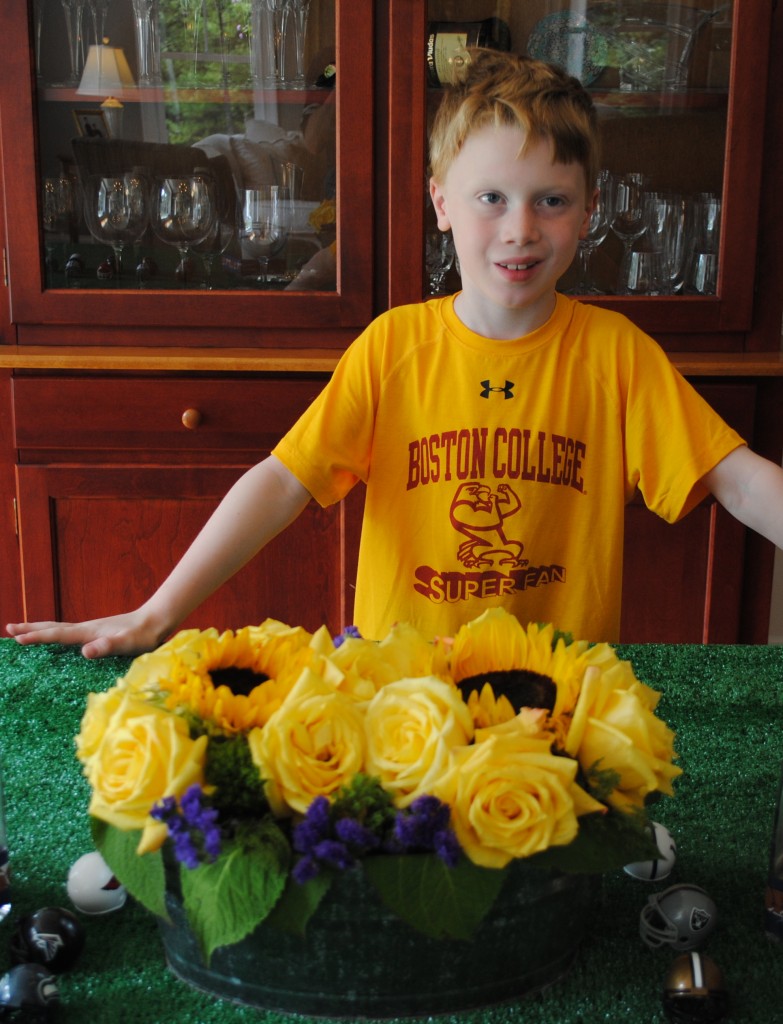
Big shout out to my design assistant Andrew, who added his helmet collection to the tablescape.   He’s my kid for sure!

Now I know that all of these details were completely lost on the guys.  If nothing else, adding just a little bit of football ribbon will turn me into a fake football fan any day!  Cauz when I hear the words Brady and Football together, I really think of THIS!

0

I’m Thankful For….

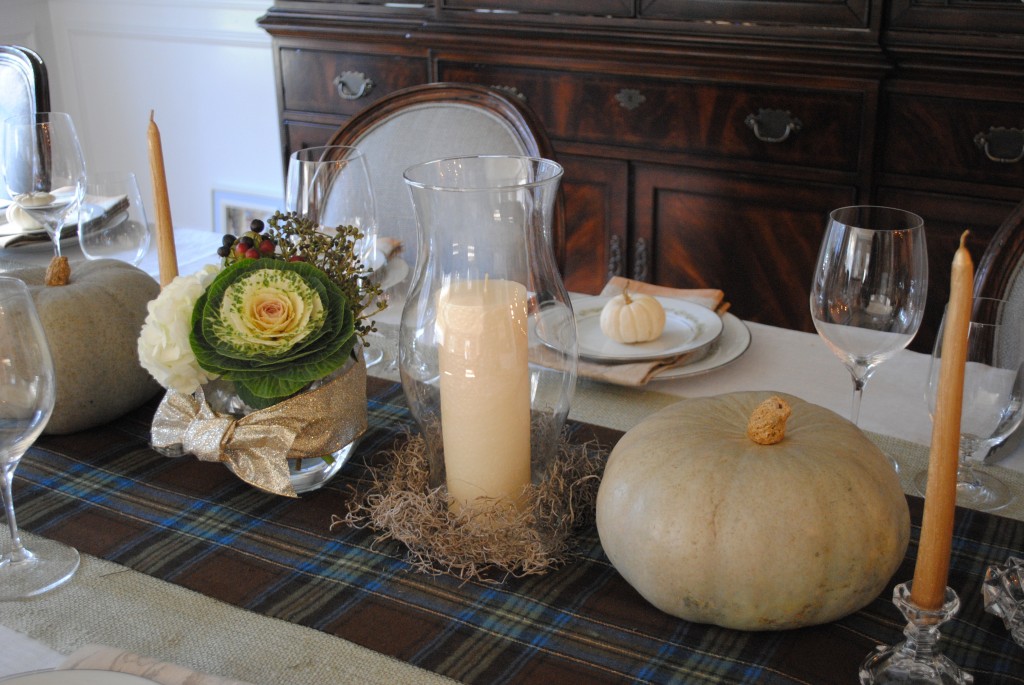
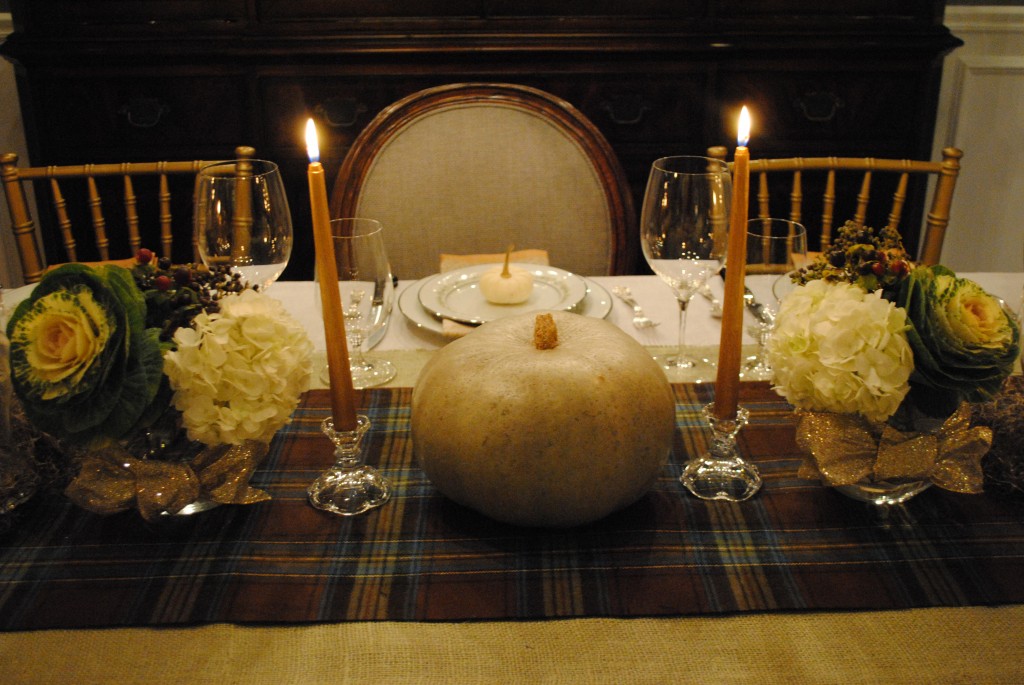
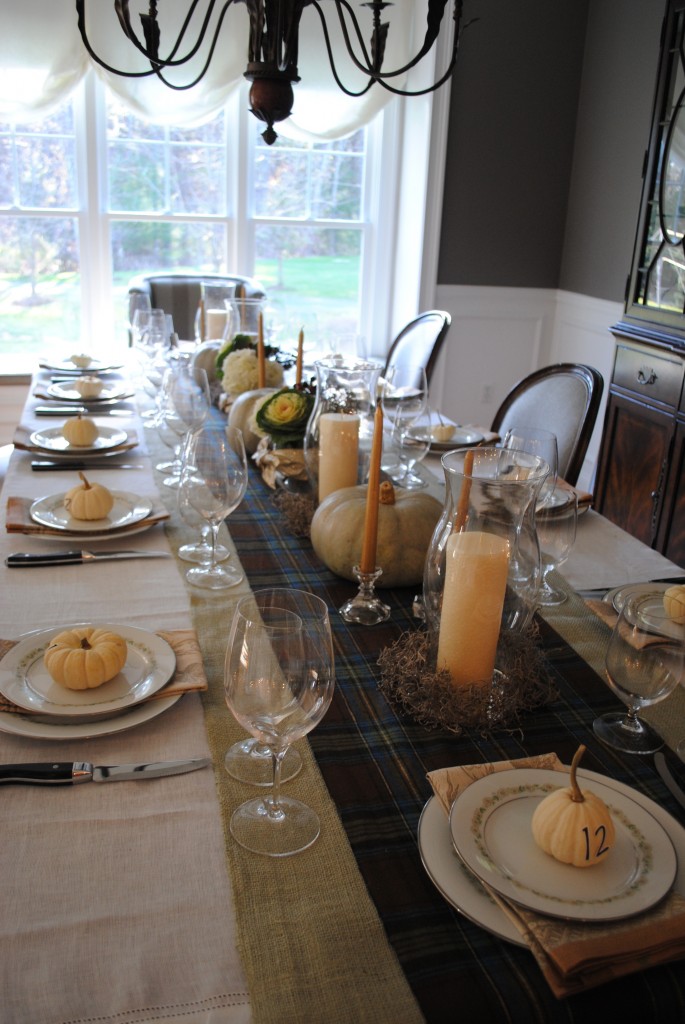
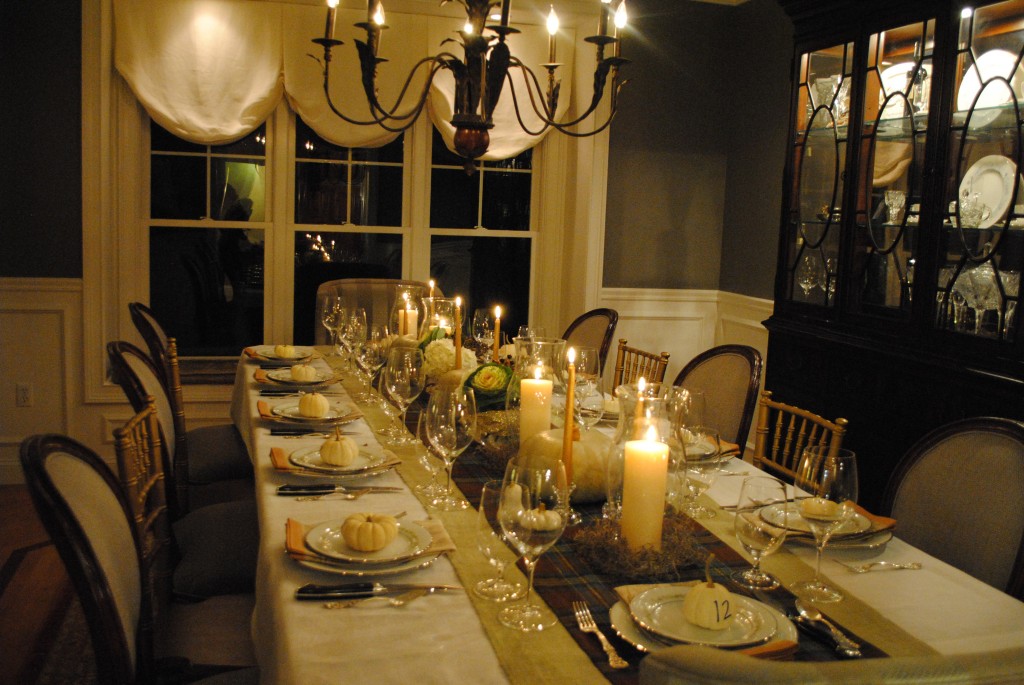
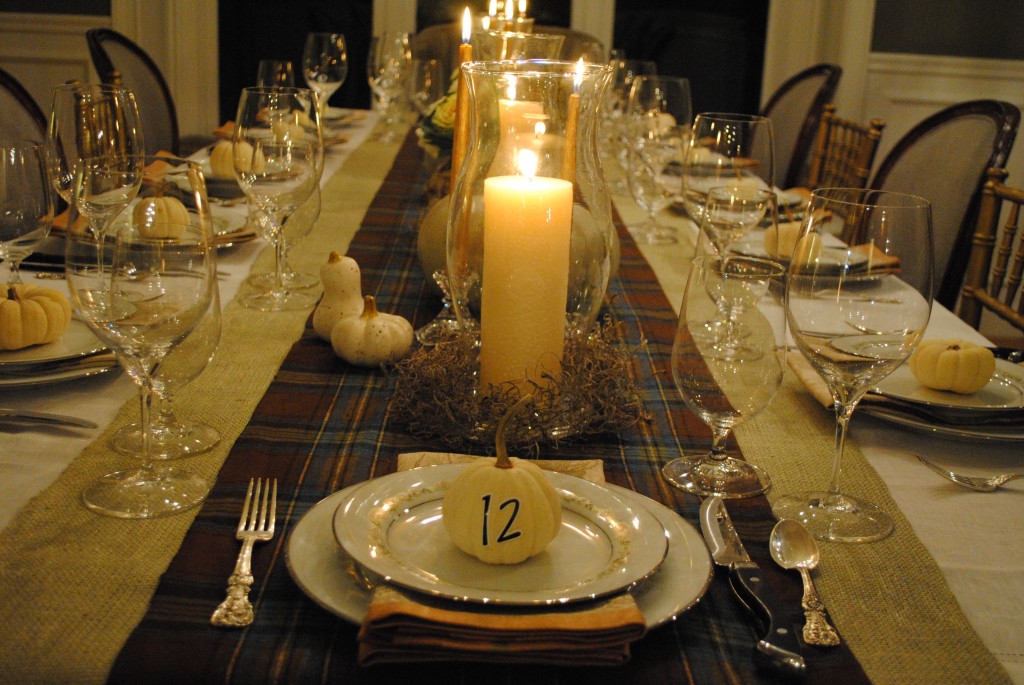
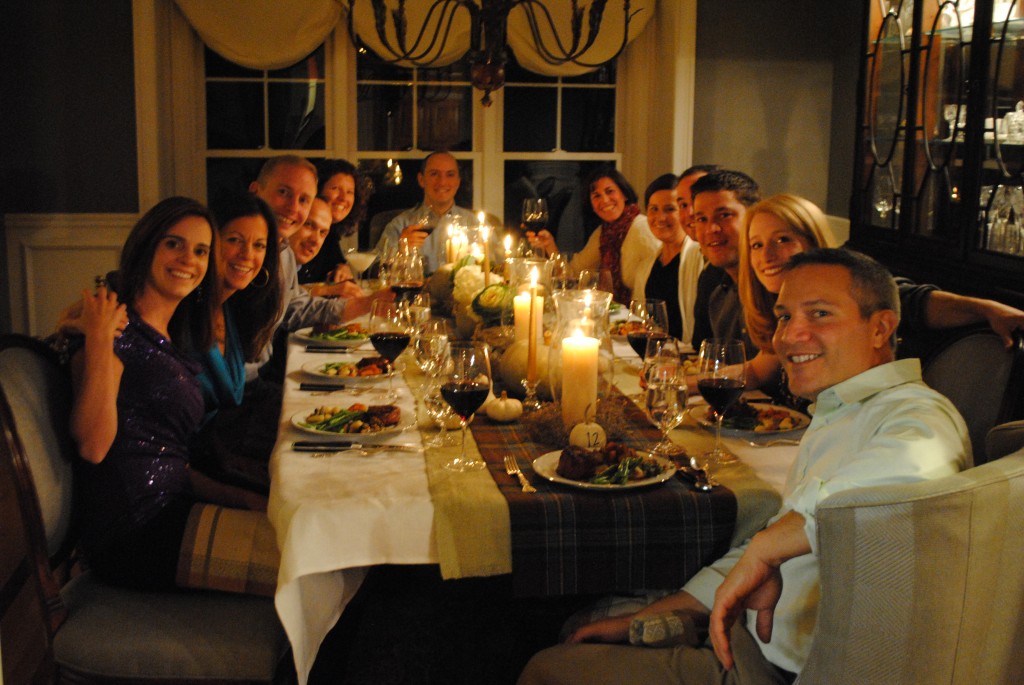
BURLAP (among other things of course)  But seriously I am always thankful for a fabulous utility fabric that you can use over and over again.  This year, I started with a simple white linen table cloth and overlaid it with a few yards of beautiful silver sage burlap (in that fab color…still only $3.99 a yard) paired it with a flannel tartan for an elegant fall tablescape.  Did I mention that I didn’t sew ANYTHING?!?  That’s right, a couple of yards of flannel fabric with a built in “cut here” line.

The inspiration for this Thanksgiving table setting came from the Blue Moon Squash I found at Idylwilde Farm last week.  Did you see my post on facebook?  In all honesty, this was to be my first dinner party at our new dining room set (I totally feel like a real grown up now) and I wanted the colors of the decor to match said furniture.  Nailed it!

New Squash Meet New Chair

My “newly retired” mom (congrats Peg O’Toole) is in the process of downsizing again, so I inherited her wedding china as well (see what I mean…total grown up territory!)

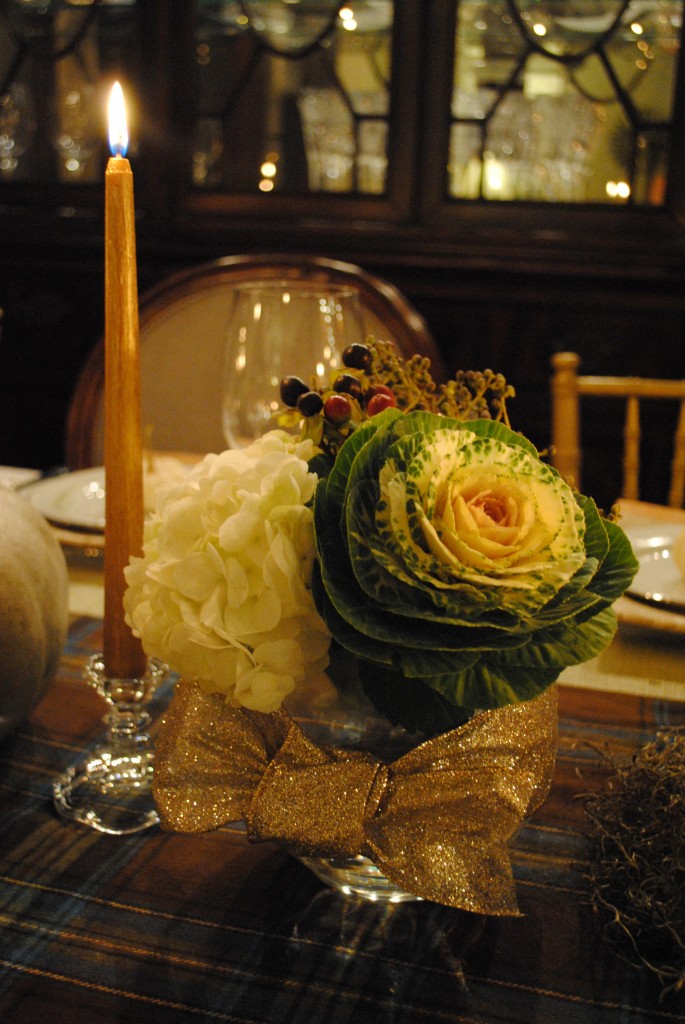
And here is a close up of a super simple flower arrangement. Hydrangea & Flowering Kale, are some on my favorites for fall centerpieces!

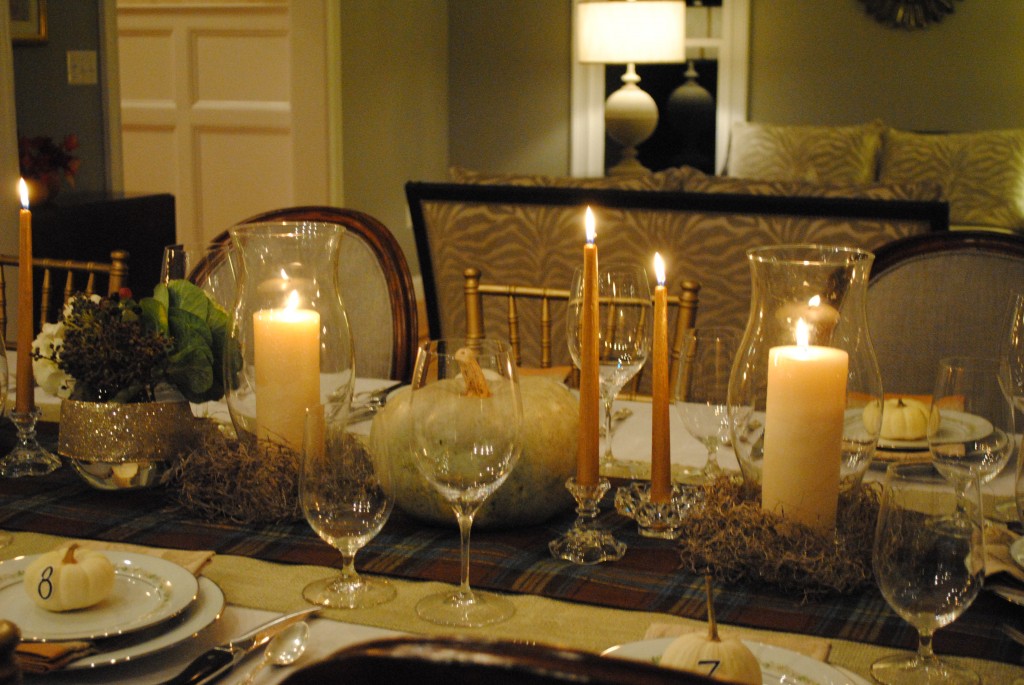
Don’t forget to add moss around the bottom of the hurricane candles for texture!

I was just so happy with how the whole table came together…and the food, well that’s another story for a different sort of blog!

And are you wondering about the numbered pumpkins?  Truth be told, this isn’t really my Thanksgiving table…in fact, I’m not even hosting this year!  (But don’t totally put it past me to set my table weeks in advance)  This post was inspired by a dinner party I was hosting.  As each of my guests arrived I had them pick a number which corresponded to seat for suppah!  Although some couples actually ended up sitting net to each other, it was a fun way to let fate decide how the night progressed. (And some chairs were clearly more comfy than others).

Happy Thanksgiving Everyone

0

Simple Elegance

Ahhh, the chaos of the holiday season is finally upon us!  We all play into it (maybe I am listening to Christmas music as I am writing this post) even the big man himself, he’s taken up residence at the mall before the Halloween clearance items have left the stores. But before you hop on the Holiday Crazy Train, do yourself a favor and take a break this Thanksgiving.

It’s so easy to go over the top when you are hosting a formal Thanksgiving…and trust me I HAVE…

but here it is…PERMISSION to go easy on yourself (and your wallet).  You can have a beautiful (and inexpensive) centerpiece without going overboard.

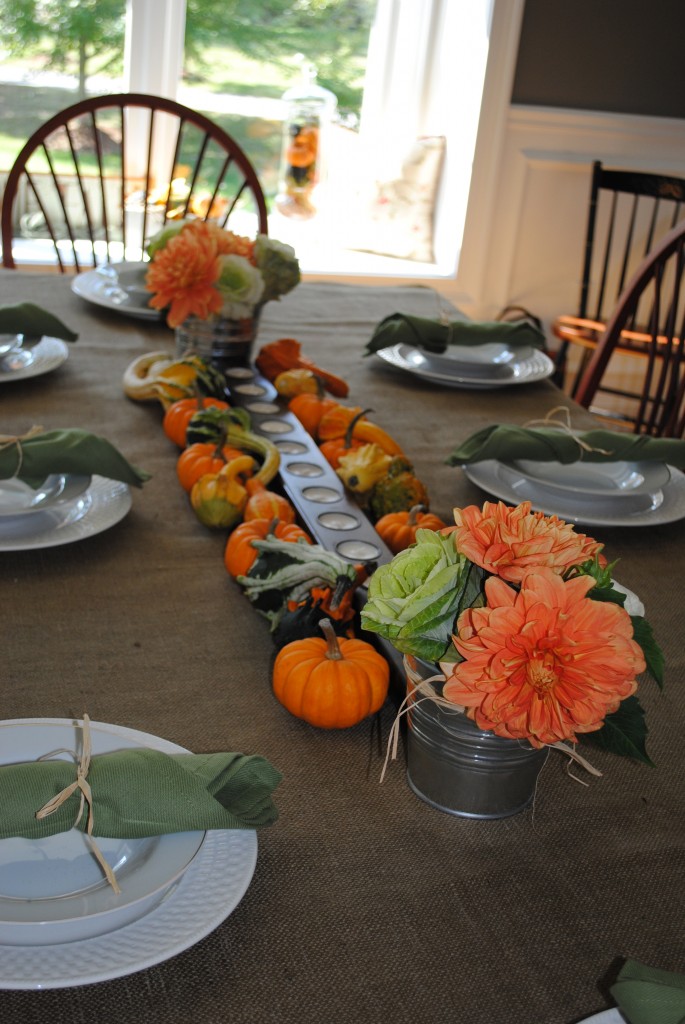
You can simply use votives and gourds to make it festive!  Of course, I’m using one of my fall favorites again, a burlap tablecloth.  It’s inexpensive and adds another layer of texture!

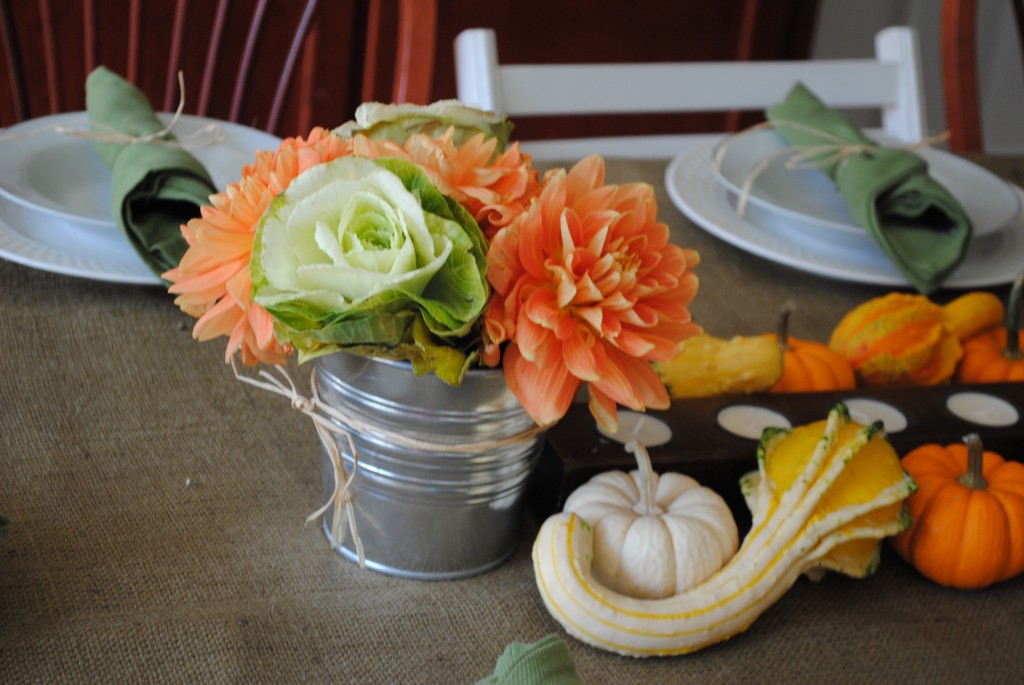
For the flower arrangements, I used decorative kale and dahlias (local peeps: You can pick up everything used here from Idylwilde) in an galvanized pail from Ikea.

So simple yet so elegant!

Enjoy your time with family and friends this year, because really, isn’t that what it’s all about?!?


5

Spooky Tabletoppin’

Happy Halloween blog friends!  I don’t think that Halloween can get any spookier than snow, no power, and no school…just sayin’

OK back to business, since there were so many elements of the Halloween Bash that I wanted to share with you, I’m breakin it down. Let me start by saying, I’ll be prepared this time  when I see some bloody lanterns hanging around, since last week I almost crashed my car into a pole when I spotted a humongous porch spider web on someone’s house that I don’t even know! (true story)

In this post I wanted to share some of the fun tablescapes I created for this spooky shindig!  First the food table:  simple, slightly spooky, and just a little bit country.  I used 4 yards of burlap fabric for an in expensive table cloth and repurposed the humongous wreath she bought that was way too big for her front door.
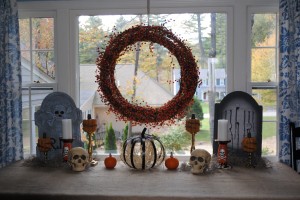
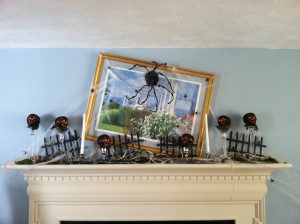
The mantel was covered in mossstraw, and loaded up with a spider web and tons of teeny spiders (with their spider momma of course)  I layered the scene with some cardboard fence cut outs to make it feel graveyardy (yup…real word)  And finally added black and orange glitter skulls to the tops of crystal candle sticks and a pair of bloody candles.
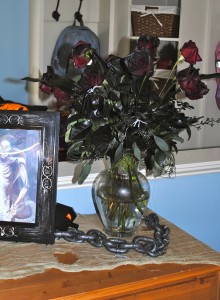
For the dessert table, I stuck with a black and silver motif.  Look to the right and you’ll see the flowers my client received for her 10 year anniversary the week before.  Well, they were looking like they were on the way out, so I decided to Halloween them. (black spray paint is pretty much my bff all month)
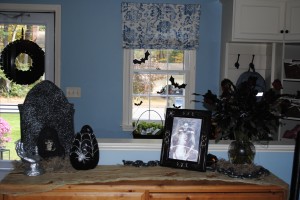
That’s right…I risked THIS scene when she came home…

for this halloween amazingness!  Luckily she loved it!  (for the record I did have her husband’s OK)
Moving right along…
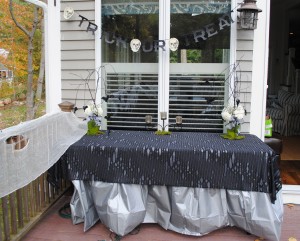
We needed a table outside for the booze (seriously…I did not drink ANY!)  Again, I love a no sew table cloth…2.5 yards of a creepy fabric from Joanne’s.  (MK PUBLIC SERVICE ANNOUNCEMENT: GET OUT SHOPPING TODAY…they are practically giving the stuff away now…next year comes quick)
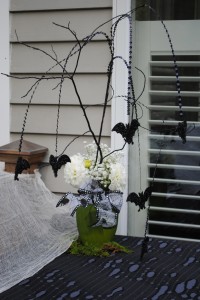
I fell in love with these glitter flying bats and had to use them in my flower arrangement!  Although they flopped more than flew, so I spray painted some twigs to help them along.   Please note that I’m still using the moss…seriously, I’m putting it everywhere!
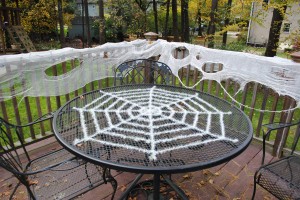
I don’t like to follow the rules, so I’m always trying to think of different ways to use decorative items.  I bought this fabric and glitter spider web and pulled it then tied it across their patio table…how fun…right?!?
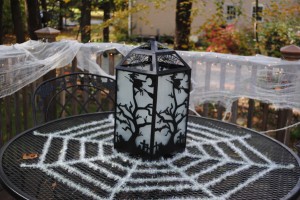
(PS: don’t you just love cheesecloth draped anywhere on halloween?  Especially when it’s tea soaked, all torn up, and draped across little white christmas lights!)

So to finish off the tablescapes I created for this spooky shindig, I want to share with you this simple and elegant coffee table (totally Better Homes and Gardens…right?).  Love the pumpkin sitting in the moss, love the little silver lanterns, love the white candles, and loved that I thought it would be a good idea to put moss INSIDE the lanterns.  (Well the package didn’t say flammable)  Right, remember how I said I loved to put the moss everywhere, um, it’s a bad call!  (One of the lanterns may have exploded)  Note to self:  For those of you that love word math…

Moss + Candles =  Explosion
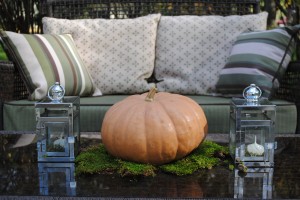
No one was injured in the decorating of this party!

Happy Halloween and get out shopping for deals today! (especially all of you black friday people)  You’ll thank me next fall.
0

Light the Night

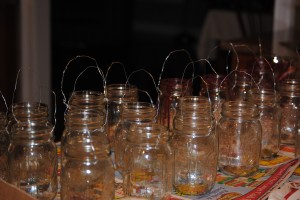
This weekend  I had the opportunity to decorate for a Halloween party.  This being a night time (i.e. no kids) event, my clients really wanted to use as much candlelight as possible.  I heart mason jars!   They are such a simple and inexpensive way to create a warm glow by dropping a tea light inside.

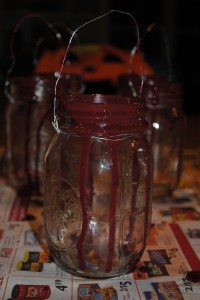
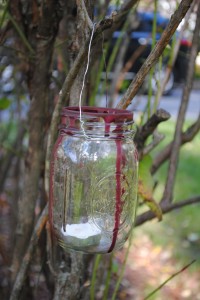
I attached some wire under the mouth of the jar then added a handle to the top.  (Needle nose pliers were my bff for this job)  Lets face it, ideas for mason jars are all over the internet, so in this post I want to show you how I pushed the gross factor for this party!
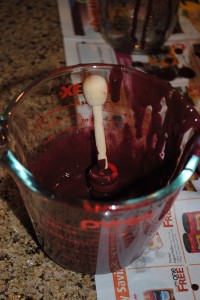
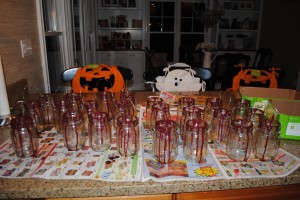
First, I had to concoct the right shade of blood, and although I’m guessing you could find just the right shade at the paint store, but I just happened to be raiding my kids craft room  for this project (which, by the way,  seems to be 3 parts red, 1 part black and a splash of water)

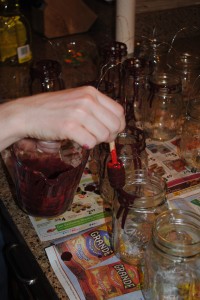
Now, it was a little trial and error to get just the right look for dripping blood (do serial killers think about this?!?) but I determined that the honey dripper’s flat top really did the best job!

And of course I had to do this to two dozen jars  to really get the full extent of the gross factor!


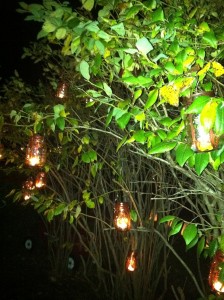
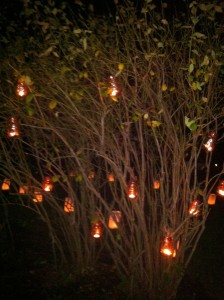
We hung them all over the bushes during the day…

and I couldn’t wait to see how they sparkled at night!

And it looked even better against the luminaries that

light the walkway to the back yard!

Stay tuned this week for some more fun ideas from my other Halloween ventures (one might have even spontaneously combusted…just sayin’!)


1