Archive | November, 2011

Ruffle Things Up!

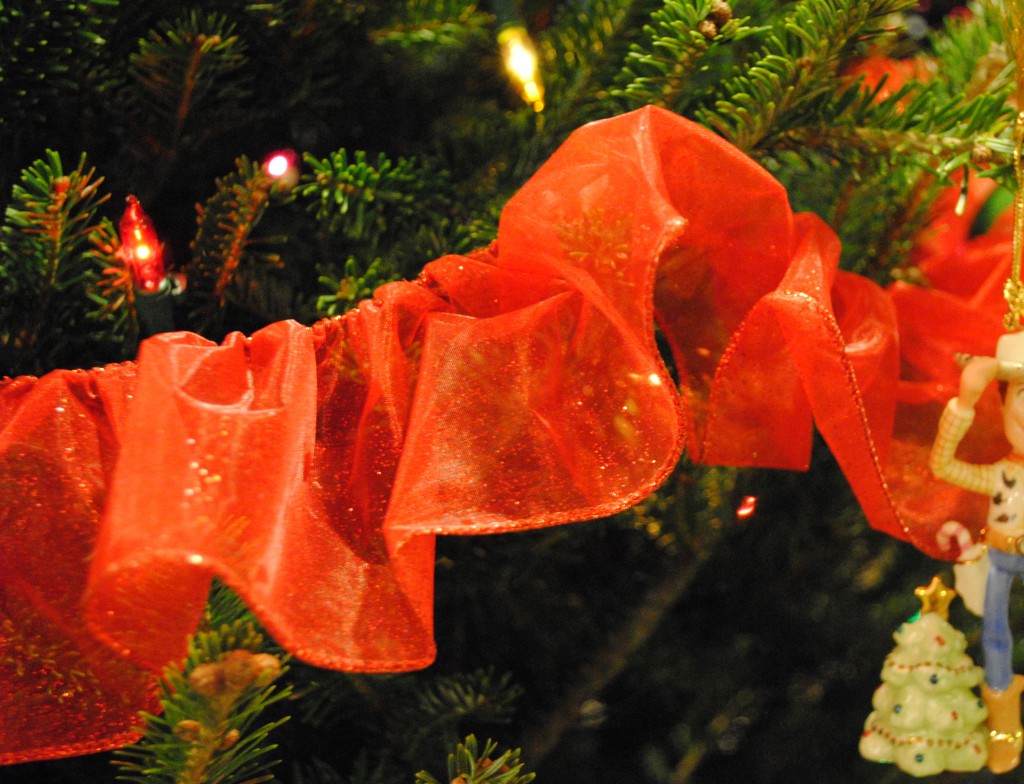
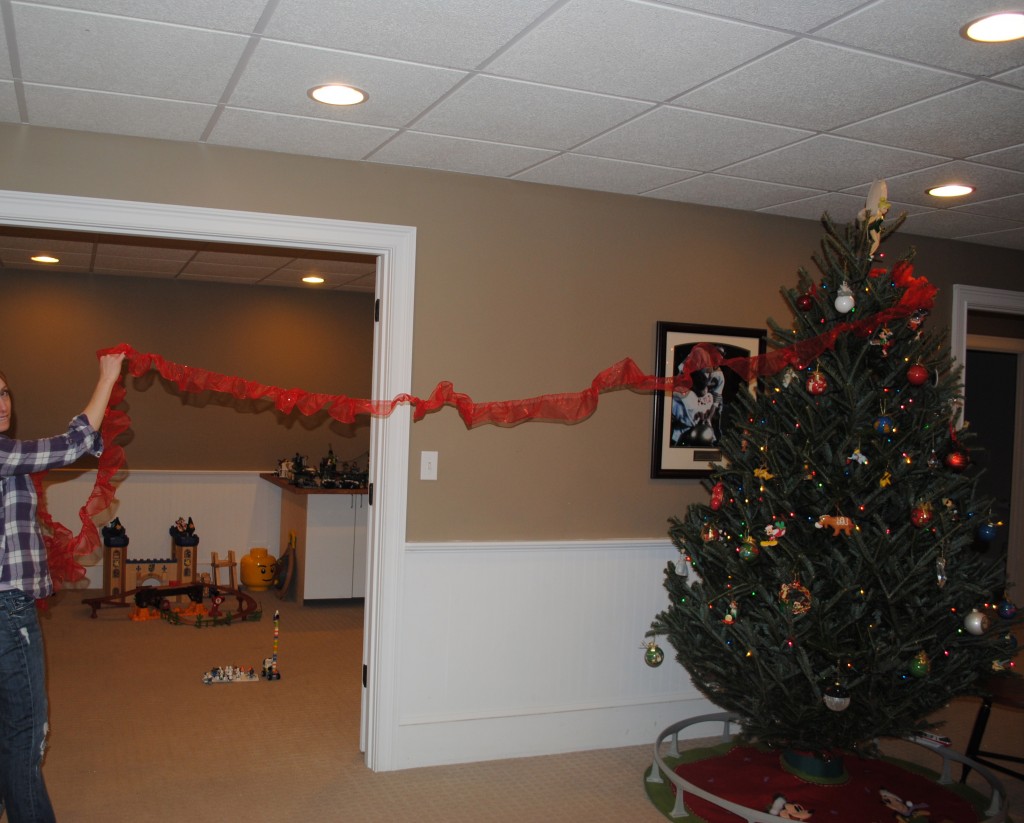
I am aways looking for new ways to spruce up one of our many Christmas trees.  In the basement we have a Disney themed tree (with, you guessed it, Tinkerbell at the top)  This is, by far, the tree my kids enjoy decorating the most!  They get free reign to decorate it however they want (which usually means that all the ornaments are clustered to one section close to the bottom, but not this year, my 7 year old finally figured it out and undecorated behind my 4 year old)  and when they are done, I come in and add some decorative ribbon around the tree.  This year I discovered a fabulous new trick with the help of Sarah from Ace Hardware in Acton – RUFFLED RIBBON!

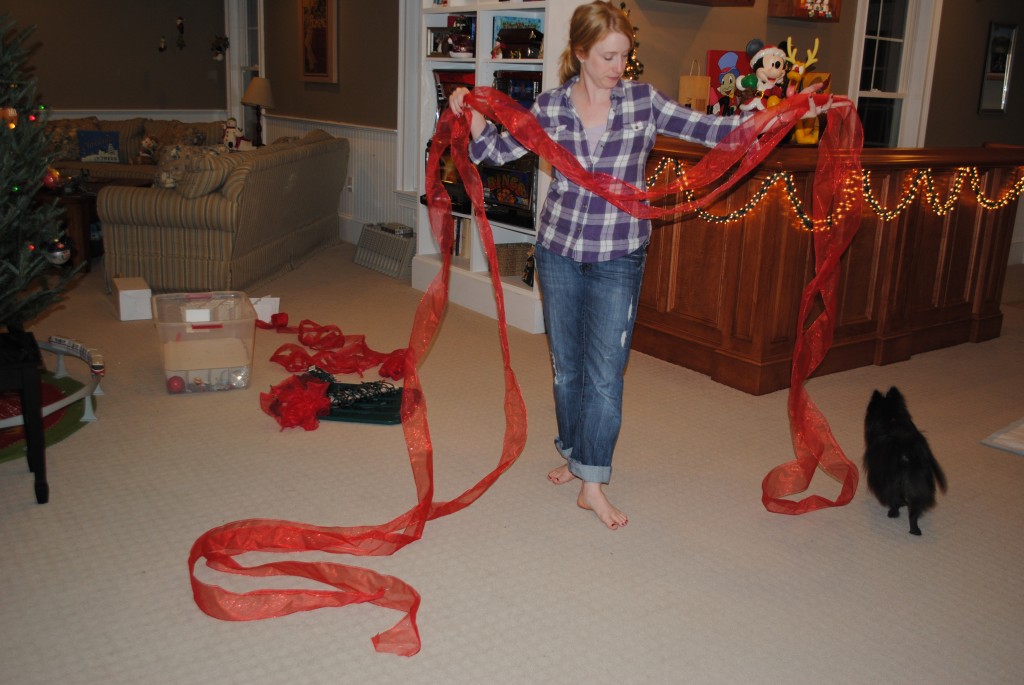
It’s such a simple way to spruce up your tree and add another dimension to your decorating.  Start by unraveling an entire roll of wired ribbon and find the center point. (My sister-in-law’s dog Tia was clearly a huge help!)

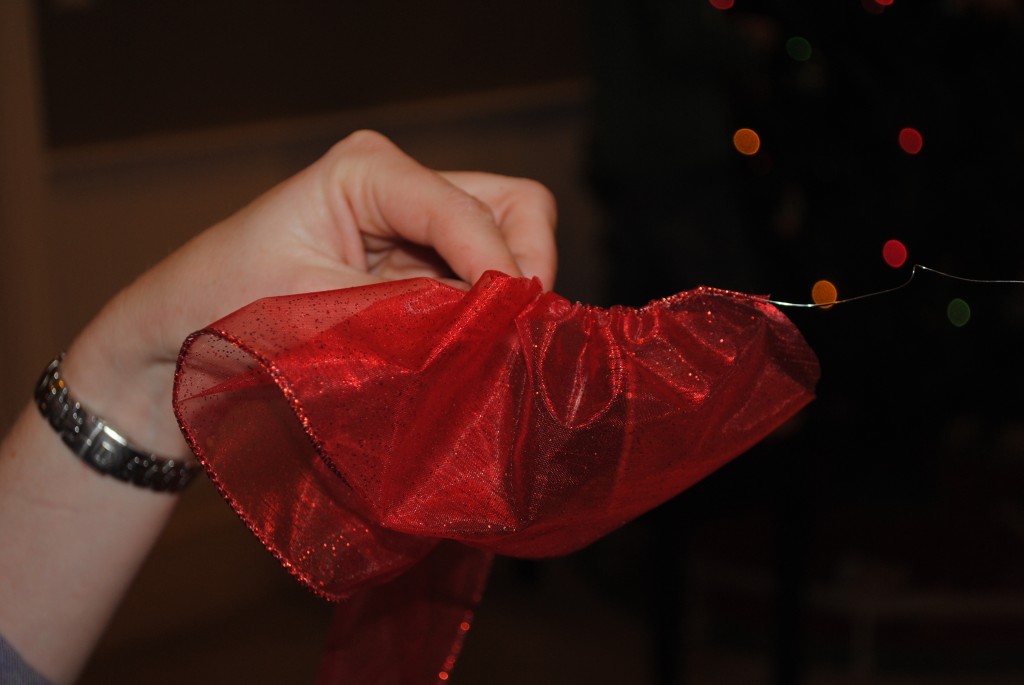
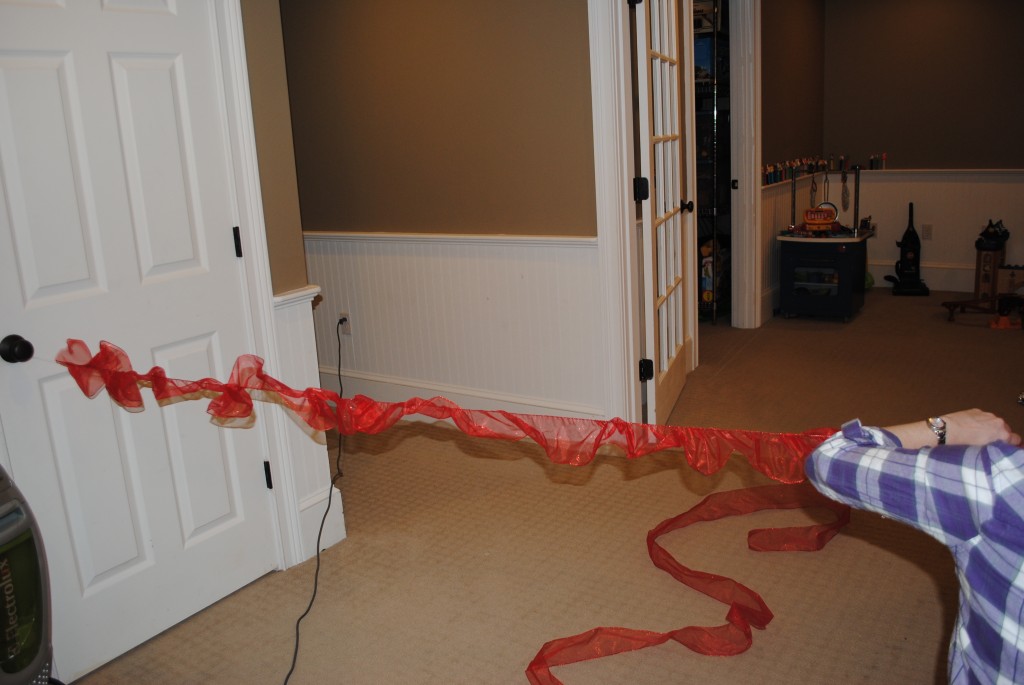
Holding the wire on one side of the ribbon begin pushing the ribbon along the wire toward the center point.

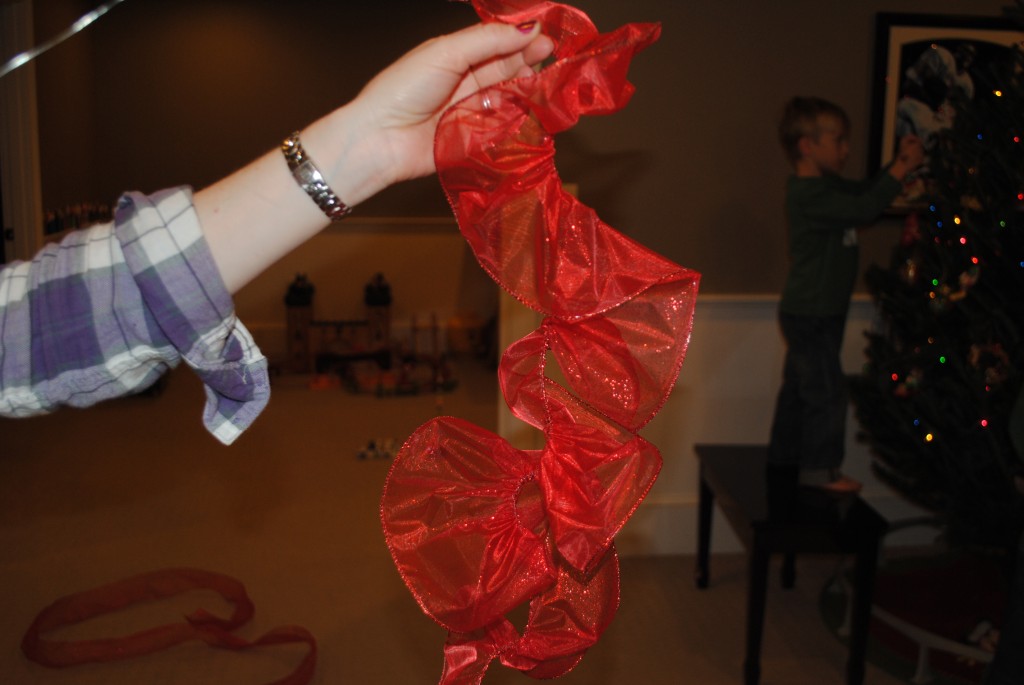
As you move along, the ribbon will become tighter to push in, so you will need to go toward the center point and start pulling it out until you reach the desired size of your ruffle.  Once you have reached the center point, start on the outside edge of the same side and work your way back (pushing and puling) to the center until you have created a full ruffle along the entire length of ribbon.

As you get closer to the end you may find yourself lost in a sea of ruffles.  I found it easier to judge the look of my ruffle by tying one end to a doorknob at this point.

You’ll be left with a whole lotta wire at the ends of your ribbon…I just made a little knot and snipped off the rest.  Once it is complete, start from the top and wrap it around your whole tree!

I’d love to see new ways you might be sprucing up your tree this year!  Please share some of your photos while you are having fun Decking the Halls!

0

I’m Sitting Where?!?

My boys love to get involved with the decorating for every holiday (I wonder where they get that from?!?)  and I love finding things for them to “help” with while we are scurrying around the kitchen getting ready for our guests to arrive.  Every year we set up a “creation station” on the coffee table and I put them to work while they watch the Thanksgiving Day Parade.

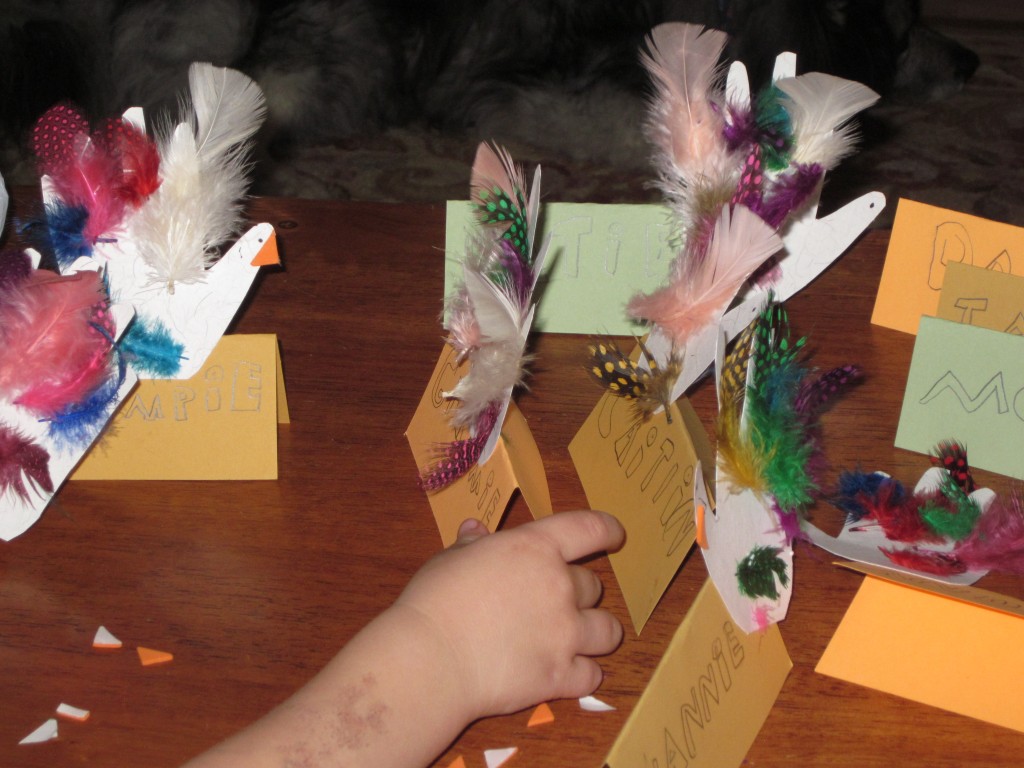
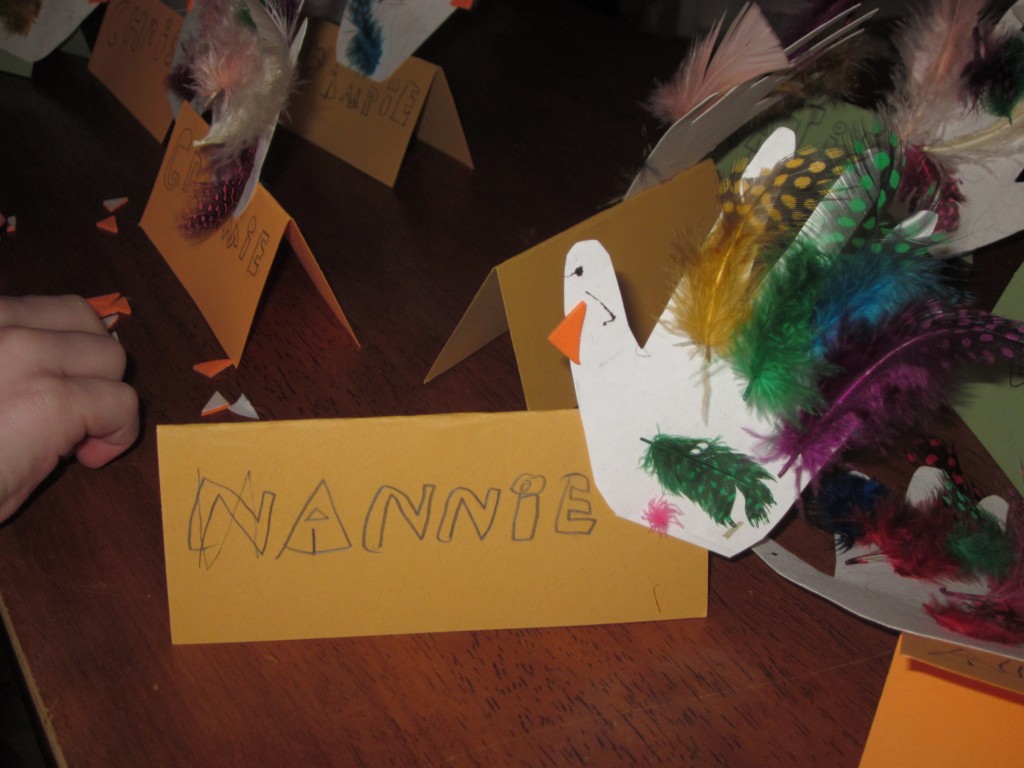
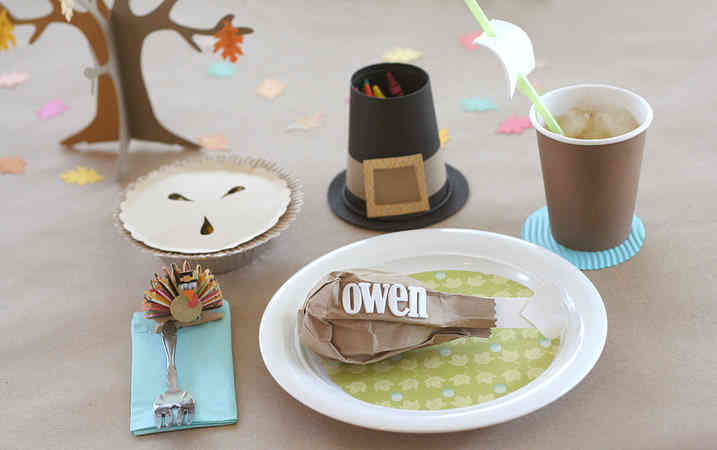
Last year my oldest came up with the idea for these adorable turkey place cards. (Ok…maybe he did get a few pointers from his mom)  He also discovered how to make bubble letters a few days earlier…so this was his big debut!

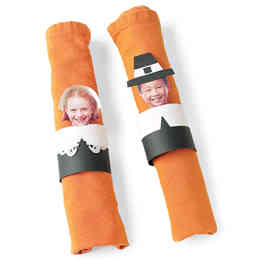
I’m hoping one day I will be organized enough with photos of all of our guests to make these adorable napkin rings featured in Family Fun.

The “Big Kids” are always dying to graduate to the adults table…who wants to be stuck with the babies anyway!   Well, with some of these super cute ideas from Fiskars, even the grown-ups will want to switch tables!

And while you are at it, check out my friend Sarah’s column, for an adorable idea for putting the ‘Thanks’ back into Thanksgiving for your kids this year!

I hope you and your family have a wonderful Thanksgiving day.

1

Simple Elegance

Ahhh, the chaos of the holiday season is finally upon us!  We all play into it (maybe I am listening to Christmas music as I am writing this post) even the big man himself, he’s taken up residence at the mall before the Halloween clearance items have left the stores. But before you hop on the Holiday Crazy Train, do yourself a favor and take a break this Thanksgiving.

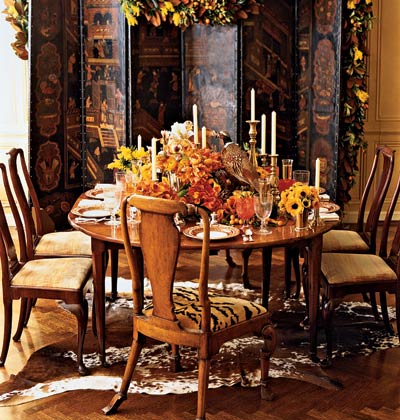
It’s so easy to go over the top when you are hosting a formal Thanksgiving…and trust me I HAVE…

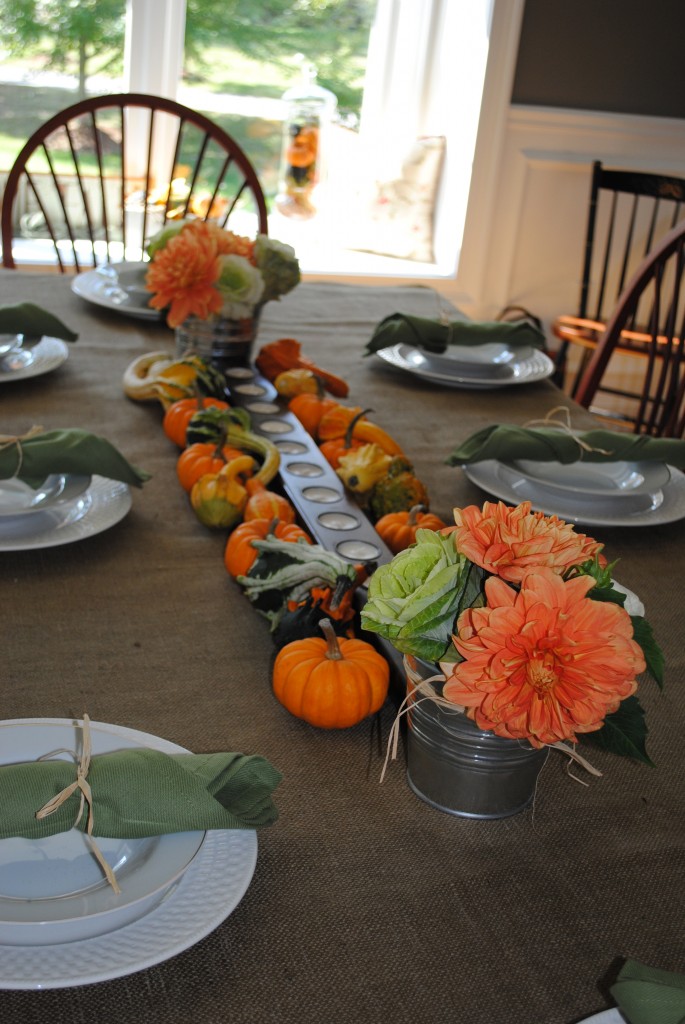
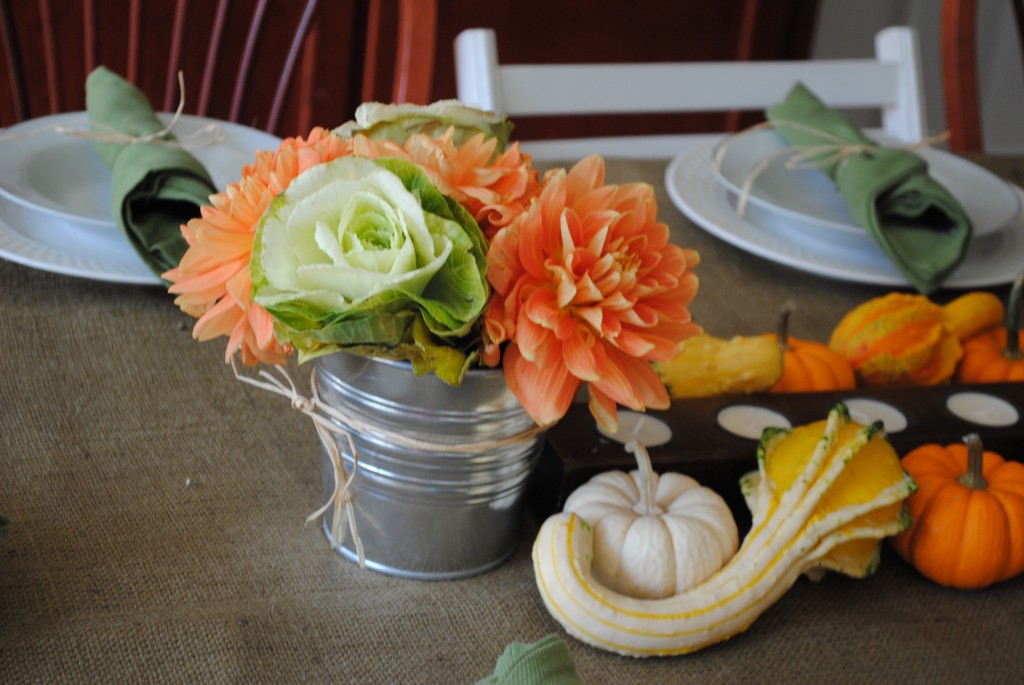
but here it is…PERMISSION to go easy on yourself (and your wallet).  You can have a beautiful (and inexpensive) centerpiece without going overboard.

You can simply use votives and gourds to make it festive!  Of course, I’m using one of my fall favorites again, a burlap tablecloth.  It’s inexpensive and adds another layer of texture!

For the flower arrangements, I used decorative kale and dahlias (local peeps: You can pick up everything used here from Idylwilde) in an galvanized pail from Ikea.

So simple yet so elegant!

Enjoy your time with family and friends this year, because really, isn’t that what it’s all about?!?


5

Trick or Treat at This Old House

With all the trees down and power outages, Trick or Treating was cancelled in our town last night.  But that didn’t stop me and my boys from heading out and getting some yummy loot!  We ventured back to our old neighborhood to trick or treat with our new baby cousin (who, by the way, is not yet a fan of Halloween).

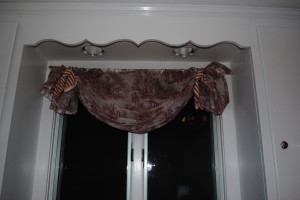
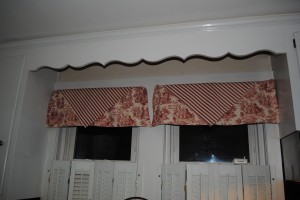
One of our first stops was the house we lived in over five years ago.  We have so many great memories in that beautiful home, but one of my favorite decorative memories were the curtains I made in the kitchen.  Just the other day I was describing them to a client and wishing I had close up photos of them (I made them over ten years ago…long before I was reading design blogs.  Back then, I never dreamed I’d one day be getting paid to do what I love).  The new owners invited us in, and guess what…MY CURTAINS WERE STILL UP AND LOOKING GREAT!  (Yes, my husband was very embarrassed that I was standing in our old kitchen taking pictures) Without any further ado,  drumroll please, meet my fabulous super inexpensive curtain solutions!

This is a sheer toile panel on a tension rod that was pulled up on the sides with rubber bands and then tied with napkins!  (Total Cost about $7)

 For each window I safety pinned two toile placemats over a basic curtain rod and covered the “seam” with a napkin.  (Total Cost about $11)

Halloween was a real TREAT for MK Design this year!


0