Archive | DIY

Tween Bedroom DoOvah

For the record, there IS such a thing a “Blog Guilt”.  It’s that thing where you have all this amazing content to chat about and it takes you a year to get it published to the blog?  Blog Guilt.  I have it. Big time.  But I guess that’s what happens when you are running an interior design business, a product line, and a family.  So, here is a fun DoOvah that was photographed LAST April by the amazing Jessica Delaney Photography.  Hope you enjoy!

Tween Bedroom DoOvah Before and After

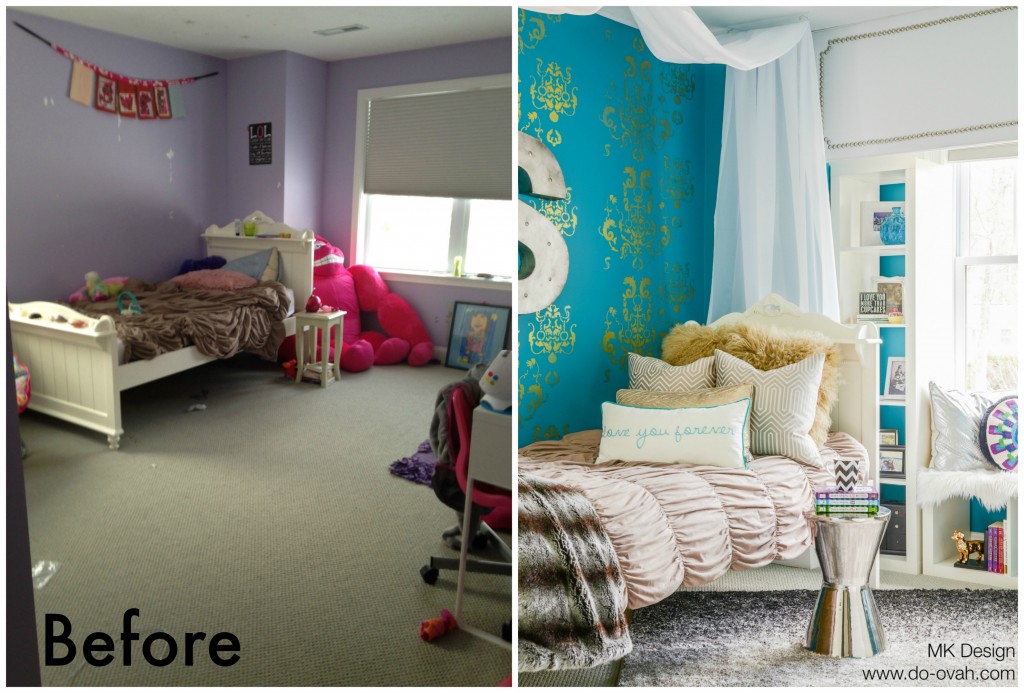
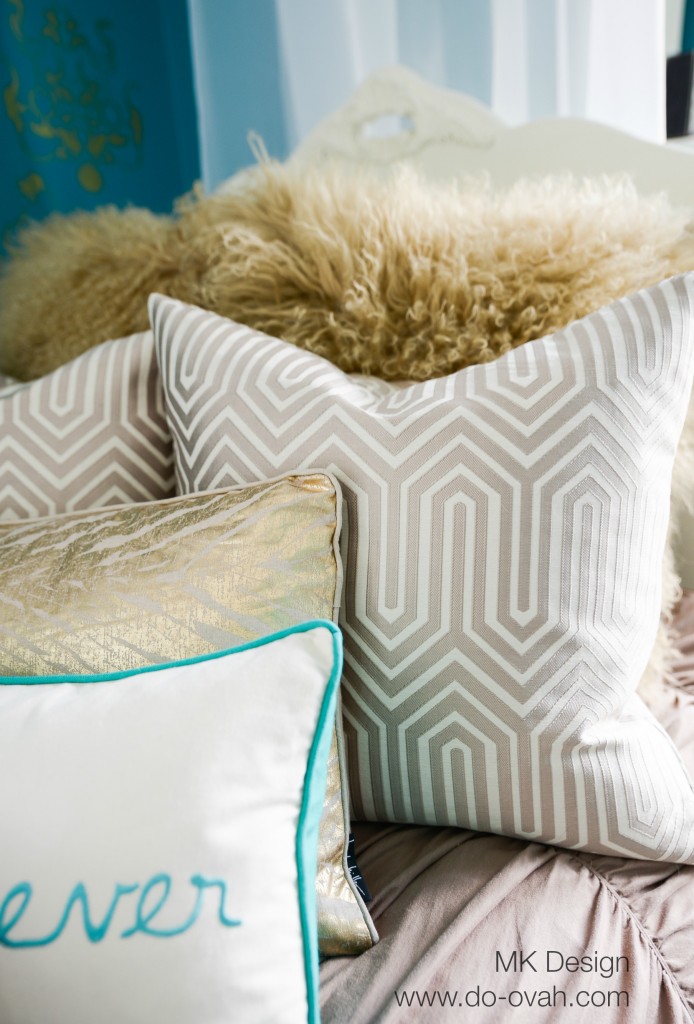
This was a fantastic project for a little girl who had a ‘pinterest vision’ for her space.  The reveal was also a birthday surprise which made it super fun.  The homeowners weren’t looking to spend a ton of money on new furnishings,  but we did splurge on some new accessories and custom window treatments.  The walls were painted  Benjamin Moore Surf Blue and we stenciled one accent wall in gold damask.  We used two IKEA Shelving units vertically and horizontally  to “build” a window seat and hid the top with a custom cornice board for a built in look and give her a cozy place to hang out.  She wanted to keep her bed (in that direction) and her new Anthropologie bedding, but clearly we needed to make it look as fabulous as she is!  The pillows are a combo platter of Home Goods and West Elm with one Jonathan Adler needlepoint pillow thrown in for fun. We made a super simple canopy surrounding the bed that was mounted to the ceiling.  So easy to do with a sheer curtain, a cup hook, and a coat hanger.  I’ll blog about that someday…maybe a year from now…ya know Blog Guilt.

Sof 2
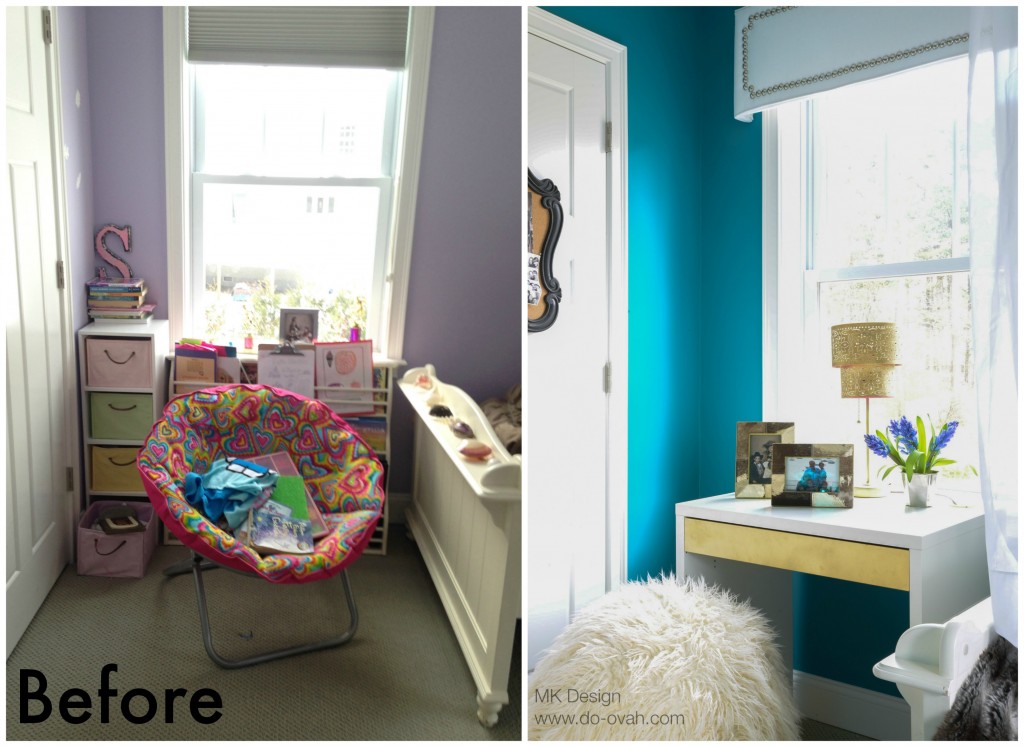
We shifted the desk over the the area under the window.  We painted, or should I say guilded (cauz I’m fancy that that’s how I roll), the IKEA desk drawer taking it from orange to gold.  We also painted the pink lamp gold since I had some paint left over.  We loved how it turned out!  Budget friend design going on here people.   Speaking of budget, sometimes you just have to spend a little more to make the design special.  That said, clearly we NEEDED to have the Furlicious Rockin’ Roller (I wish I made up that name) desk chair from Pottery Barn Teen  and I’m fairly certain no injuries have ensued.

Sof 3

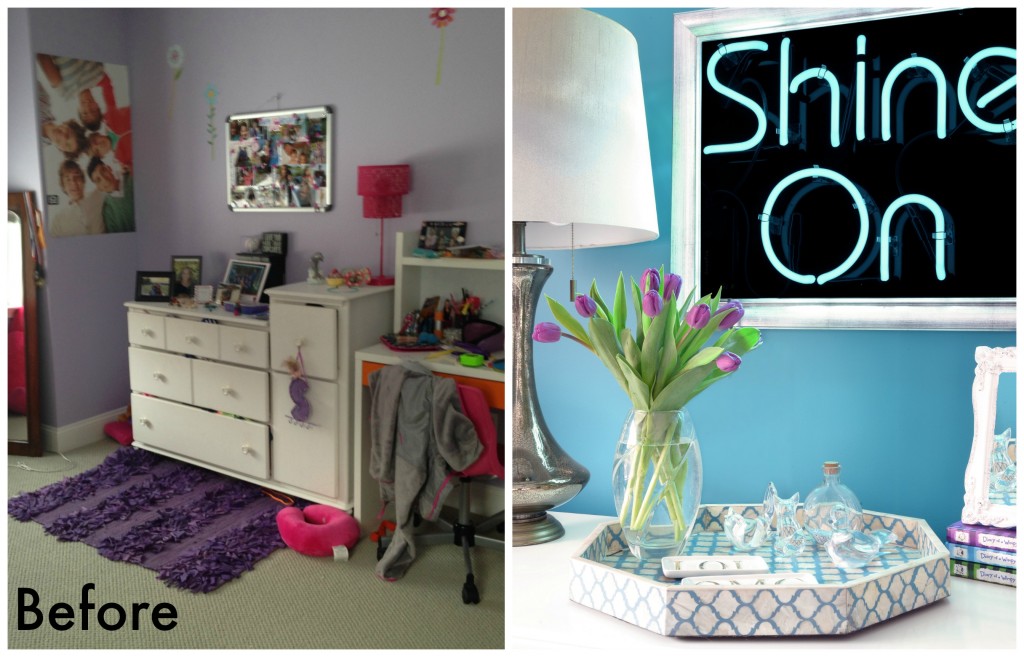
We kept the existing bureau but wanted to create a fun focal point above it.  She came up with her slogan “Shine On” and we had a custom neon sign made!  How fun, right?  (side note: when paying by the letter on the sign we might have encouraged her to come up with a slogan on the shorter side.)  We did an ombre effect on the Home Goods lamp shade.  Also, I was stoked that her love for Diary of a Wimpy Kid novels worked in our favor with the color scheme.  Here are a few other shots of her space!  We are so happy with how the whole room turned out.

MK Design_SophiaBedroom-8

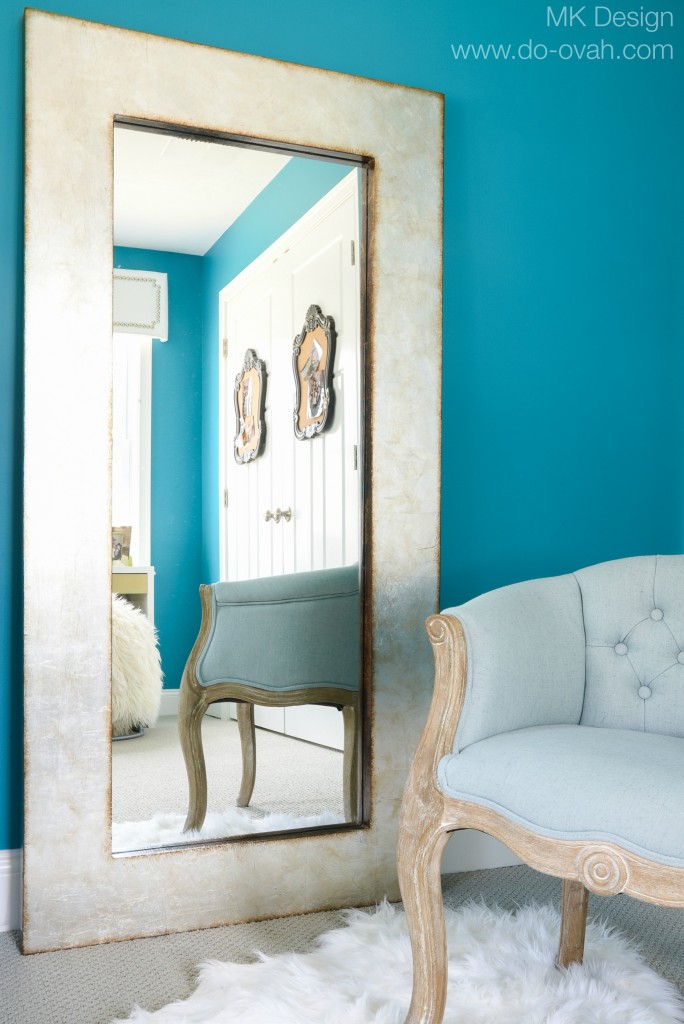
Loved this little chair we scored at Home Goods!

Mirror was from Pier One, but sorry folks, don’t think they sell that one anymore.

MK Design_SophiaBedroom-10

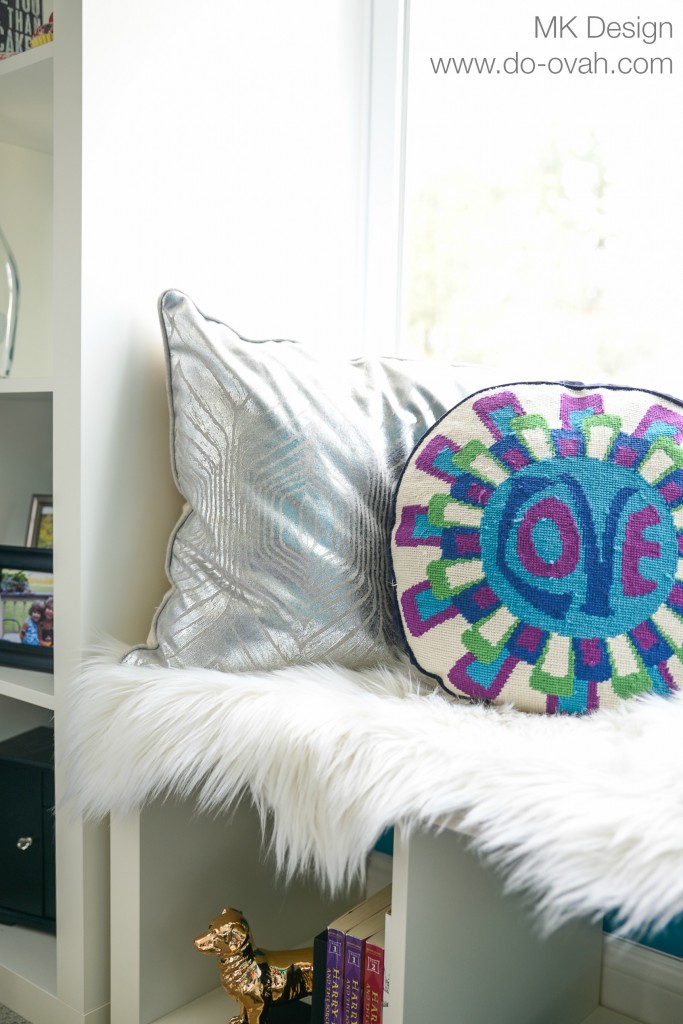
More Fun Home Goods Finds.  Oh, and I love you too Jonathan Adler.

MK Design_SophiaBedroom-11

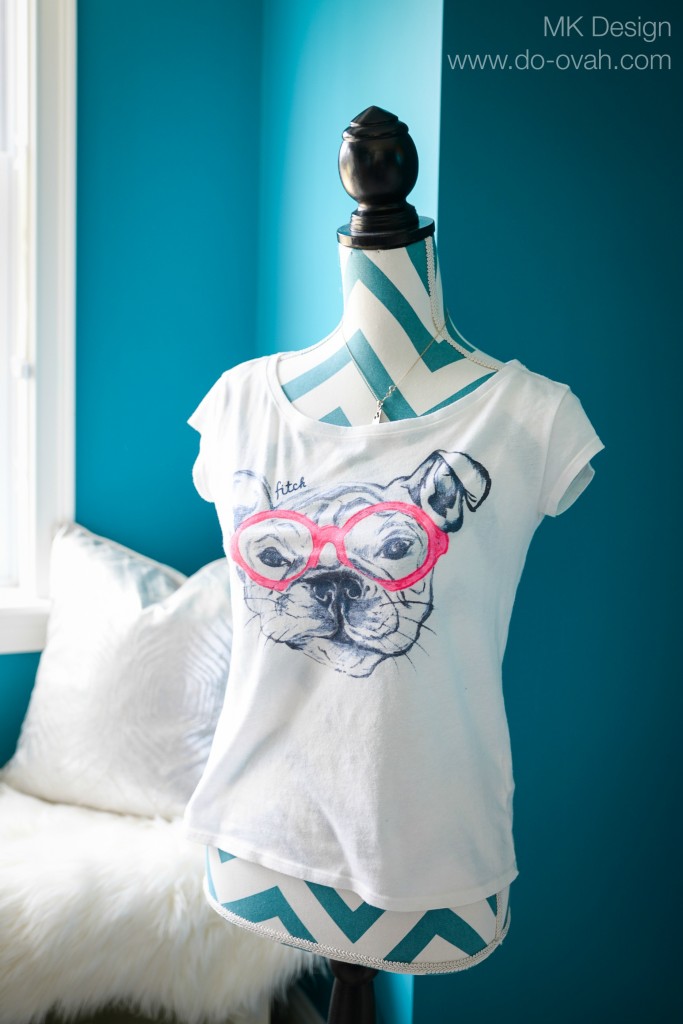
She literally dresses this every day!  So fun to be 10 years old.

MK Design_SophiaBedroom-12

Don’t you just want to crawl in here?

IMG_1980

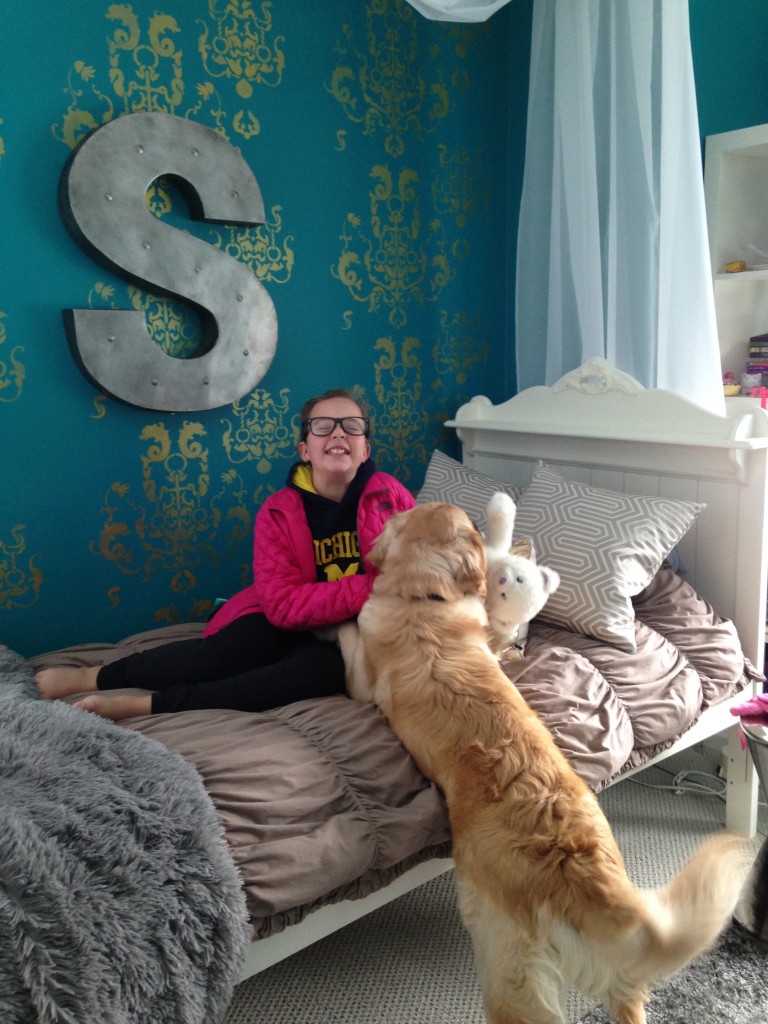
YUP!  She loved.  Another successful ‘tween DoOvah complete.

0

Are You Ready For Some Football?

Superbowl Sunday is almost here, and well, since the Patriots aren’t playing this year I’ve made other plans.  Who am I kidding, I’m not a football fan at all.   I AM, however, a fan of decorating!  When my husband told me he was hosting the football draft party for his buddies I decided I needed to spruce the place up.  Now, I didn’t go crazy psycho pinterest and start making all football shaped food, I did the smart thing and ordered from Redbones.

I did, however, make the silverware pretty!  

I also made some simple centerpieces for the picnic tables.  A football banner…yes please! And don’t forget the drink table.  Granted, most of the guys were drinking the coolers full of beer, but how refreshing is a bottle of Coke served in a vintage ice chest on a hot summah day?

This next tip will send you running to Amazon to make your own Turf Tablecloth!

What better way to cover your table for the big game?  Best of all, you can fold it up and use it again and again.  (ps:  Am I the only one who thinks about the Brady Bunch any time I see artificial grass?)

Big shout out to my design assistant Andrew, who added his helmet collection to the tablescape.   He’s my kid for sure!

Now I know that all of these details were completely lost on the guys.  If nothing else, adding just a little bit of football ribbon will turn me into a fake football fan any day!  Cauz when I hear the words Brady and Football together, I really think of THIS!

0

Getting Cozy

Not only am I back to blogging regularly, the new year has also brought with it a chance for me to finally get back to designing my own home.  Ya know, the cobbler with no shoes?  I have lots of unfinished projects that I will be working on completing this year…and here’s the first one!  Do you remember the facebook post last spring where I was polling you about which fabric I should use to recover this chair?

Well, I decided to go in a whole different direction with the space.  Don’t worry I still used the amazing rug I won from Rue La La, but I thought it worked so much better in the MK Coastal office.  Buh bye orange and blue!  In the meantime, I added blue grass cloth to the walls and a walnut hardwood floor.  I knew I wanted to add glamor and femininity to the space, but still wasn’t sure about the color scheme.  That is until I saw THIS rug!

It was love at first sight!  And just like that I had my color scheme.  Oh, and then Pantone went and announced the 2014 Color Of the Year: Radiant Orchard.  NAILED IT!   Anyhoo…back to the chair.  Now I was fully planning on spending boat loads of money to make this chair amazing.  It was only $50 second hand, so I felt like it made sense to spend extra on fabulous fabric to reupholster the cushions.   That was, until I found these at Home Goods!

It doesn’t get much more glamours and feminine than that!  I had originally purchased a few of these to put together on the floor by the bed, but decided to try them on the chair instead.

Don’t you just want to crawl in there with a good book?  (My six year old is a huge fan of that)

I only needed 3 of these and for $16.99 I recovered my chair for just over $50.  All in, this chair cost me a little over $100 and I love how it feels in the space!  Gotta run…I have a book to finish reading.

0

Back In The Saddle Again

Now that MK Coastal is up and running, I am dipping my toes back into the design world.  As the mom of two boys, I’m so excited about this particular project…a super funky tween room!  As an avid “pinner” my 10 year old client fell in love with this room from the Simply Lovely blog.

 Although she would have been happy recreating this room piece by piece, I helped her understand how we can be inspired by this design but will work together to make it her own.  We started with Benjamin Moore Surf Blue 2056-30.  Such a bright and bold color…we LOVE it!

Then we started shopping, and our local Home Goods had some amazing finds!

Since wallpaper wan’t in the budget, we brought in this stencil with gold metallic paint.  My client and her family spend lots of time at the beach, so this nautical stencil with an anchor and dolphins was the perfect choice.  I am dying over the gold and teal combo!

Here’s the BEFORE…

I can’t wait to show you pictures of the AFTER!


3

One Last Holiday Treasure

For as long as I’ve had kids, I have been saving the photo cards that we receive every holiday season.  Yup, just the photo cards.  So if you are thoughtful enough to send out traditional cards…THANKS, but they are recycled (unless it’s super cute and can be used to make a gift tag, but clearly that’s another blog post for another day).  I’ve been holding onto these cards every year while I try to figure out what to do with them all, but alas the box just kept getting bigger.  Truth be told, by this time of year I’m usually just so sick of all the decorations that have turned into clutter that I am happy to shove them into said box.  But last year I didn’t shove them, last year, I created a photo book with these supplies.

Yup, all I used was a book ring, hole punch, gift tag, and some ribbon!  I brought last years out this year and so many friends & family members picked it up and flipped through it, they loved the simple idea.  Blog guilt kicks in “You shoulda posted about this last year”  So, here we are…my Annual Holiday Card Book!

Of course my kids are featured on the front page!  It’s so simple really, just a hole punched in the top left corner of the cards & put them on the ring, then I used silver stickers to add the year onto the gift tag and finished it with a pretty bow.I did put a little bit of tape to secure the clasp, cauz I’m crazy like that, but once you slide the ribbon over it, you can’t see it at all. It’s such a simple little keepsake for your family to treasure year after year!  Now I just need to go back to do 2004, 2005, 2006, 2007, 2008, 2009, 2010, 2011…wanna help?


0