Do-Ovah’s are my favorite part of the job! They really educate and motivate my clients to be able to do something creative with their spaces on their own. I feel like such a proud momma when I hear from them that they completed what we talked about and they love it. The downside of the Do-Ovah for me is that I don’t always get to see the finished product. But sometimes, a client finishes it AND sends me proof. Here are just a few do-ovah’s from the past few months…
DO-OVAH #1 – Concord, MA
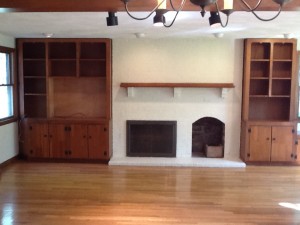
This do-ovah was for a client who was moving to the area and had to make all the decisions from several hours away. She hired me to help out with the kitchen & family room area that had a confusing layout and clearly dated built-ins.
BEFORE
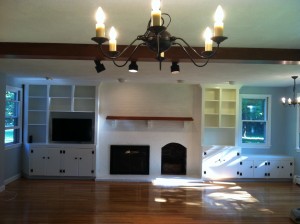
Her style is light and bright cottage feel, and we went through her Pinterest Boards (best design tool eva) to see what ideas she had for the space. It was not in the budget to rebuild the bookshelves, so we had them painted white and added crown molding at the top to lose the scalloped edge for a less 70’s feel. The trim around the windows was also painted white and the walls were painted in Benjamin Moore Sliver Sage 506. They are thrilled with the transformation…now onto the furniutre options. I hope they keep me posted!
AFTER
DO-OVAH #2 – Acton, MA
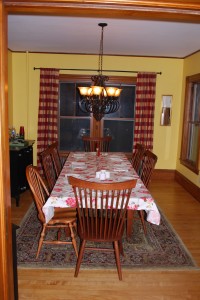
This client lives in a beautiful historic home with lots of charm. They hired me for several rooms in their home, but for their dining room in particular they wanted to give it a whole new look, but didn’t really want to paint. Um, yeah about that…
BEFORE
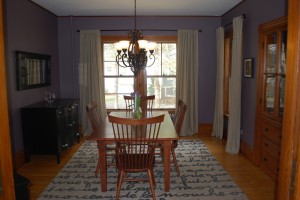
Often times people think that if they have the dark woodwork in historic homes they shouldn’t paint it (I’m one of those people) but here’s the thing, you don’t have to choose light colors to make it look good. In fact, I think yellow is one of the worst options because it doesn’t enhance the tone of the wood…it competes with it…making it look too orange! Luckily, my client is someone who will take design risks (YIPPIE!) and didn’t completely pass out when I suggested to paint it PURPLE!
AFTER
Benjamin Moore Kasbah AF-640 to be specific. The furniture did not change, but doesn’t the room look so much more pulled together? It’s so soothing!
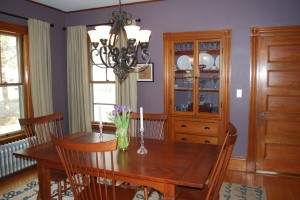 I love how the beautiful woodwork just pops against the new color. Seriously, is that door amazing or what?!?
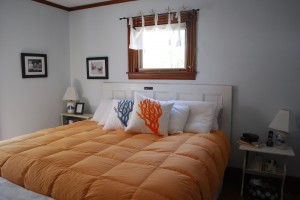
Oh, and speaking of the door, we were also working on the master bedroom and they said they needed a new headboard! Rather than purchasing a new one, I suggested that they use an extra door and paint it then hang it horizontally…and guess what…they did it! Doesn’t it look stunning?
Note to self: Do not go up to your son’s Lacrosse coach in front of a bunch of other Mom’s (none of which were his wife / my client) and say how much you really love how his headboard turned out. Um, yeah, we got a few funny looks! I guess that’s just the part of my job…RUMORS!


